Getting Parts for Your Project :: ECE 445 - Senior Design Laboratory

Getting Parts for Your Project

Student groups have a budget of $50 per student as of fall 2023. This money can be accessed through your TAs CFOP number. The ways parts can be sources are listed below in order of desirability.

1. Lab Kit

Each group is issued a locker and lab kit. A lab kit should include banana plugs and a breadboard.

2. ECEB 2070 Lab

There are many parts available for free in the ECEB 2070 lab such as THT passive components, MOSFETs, and line operated DC power supplies.

3. ECE 445 Inventory

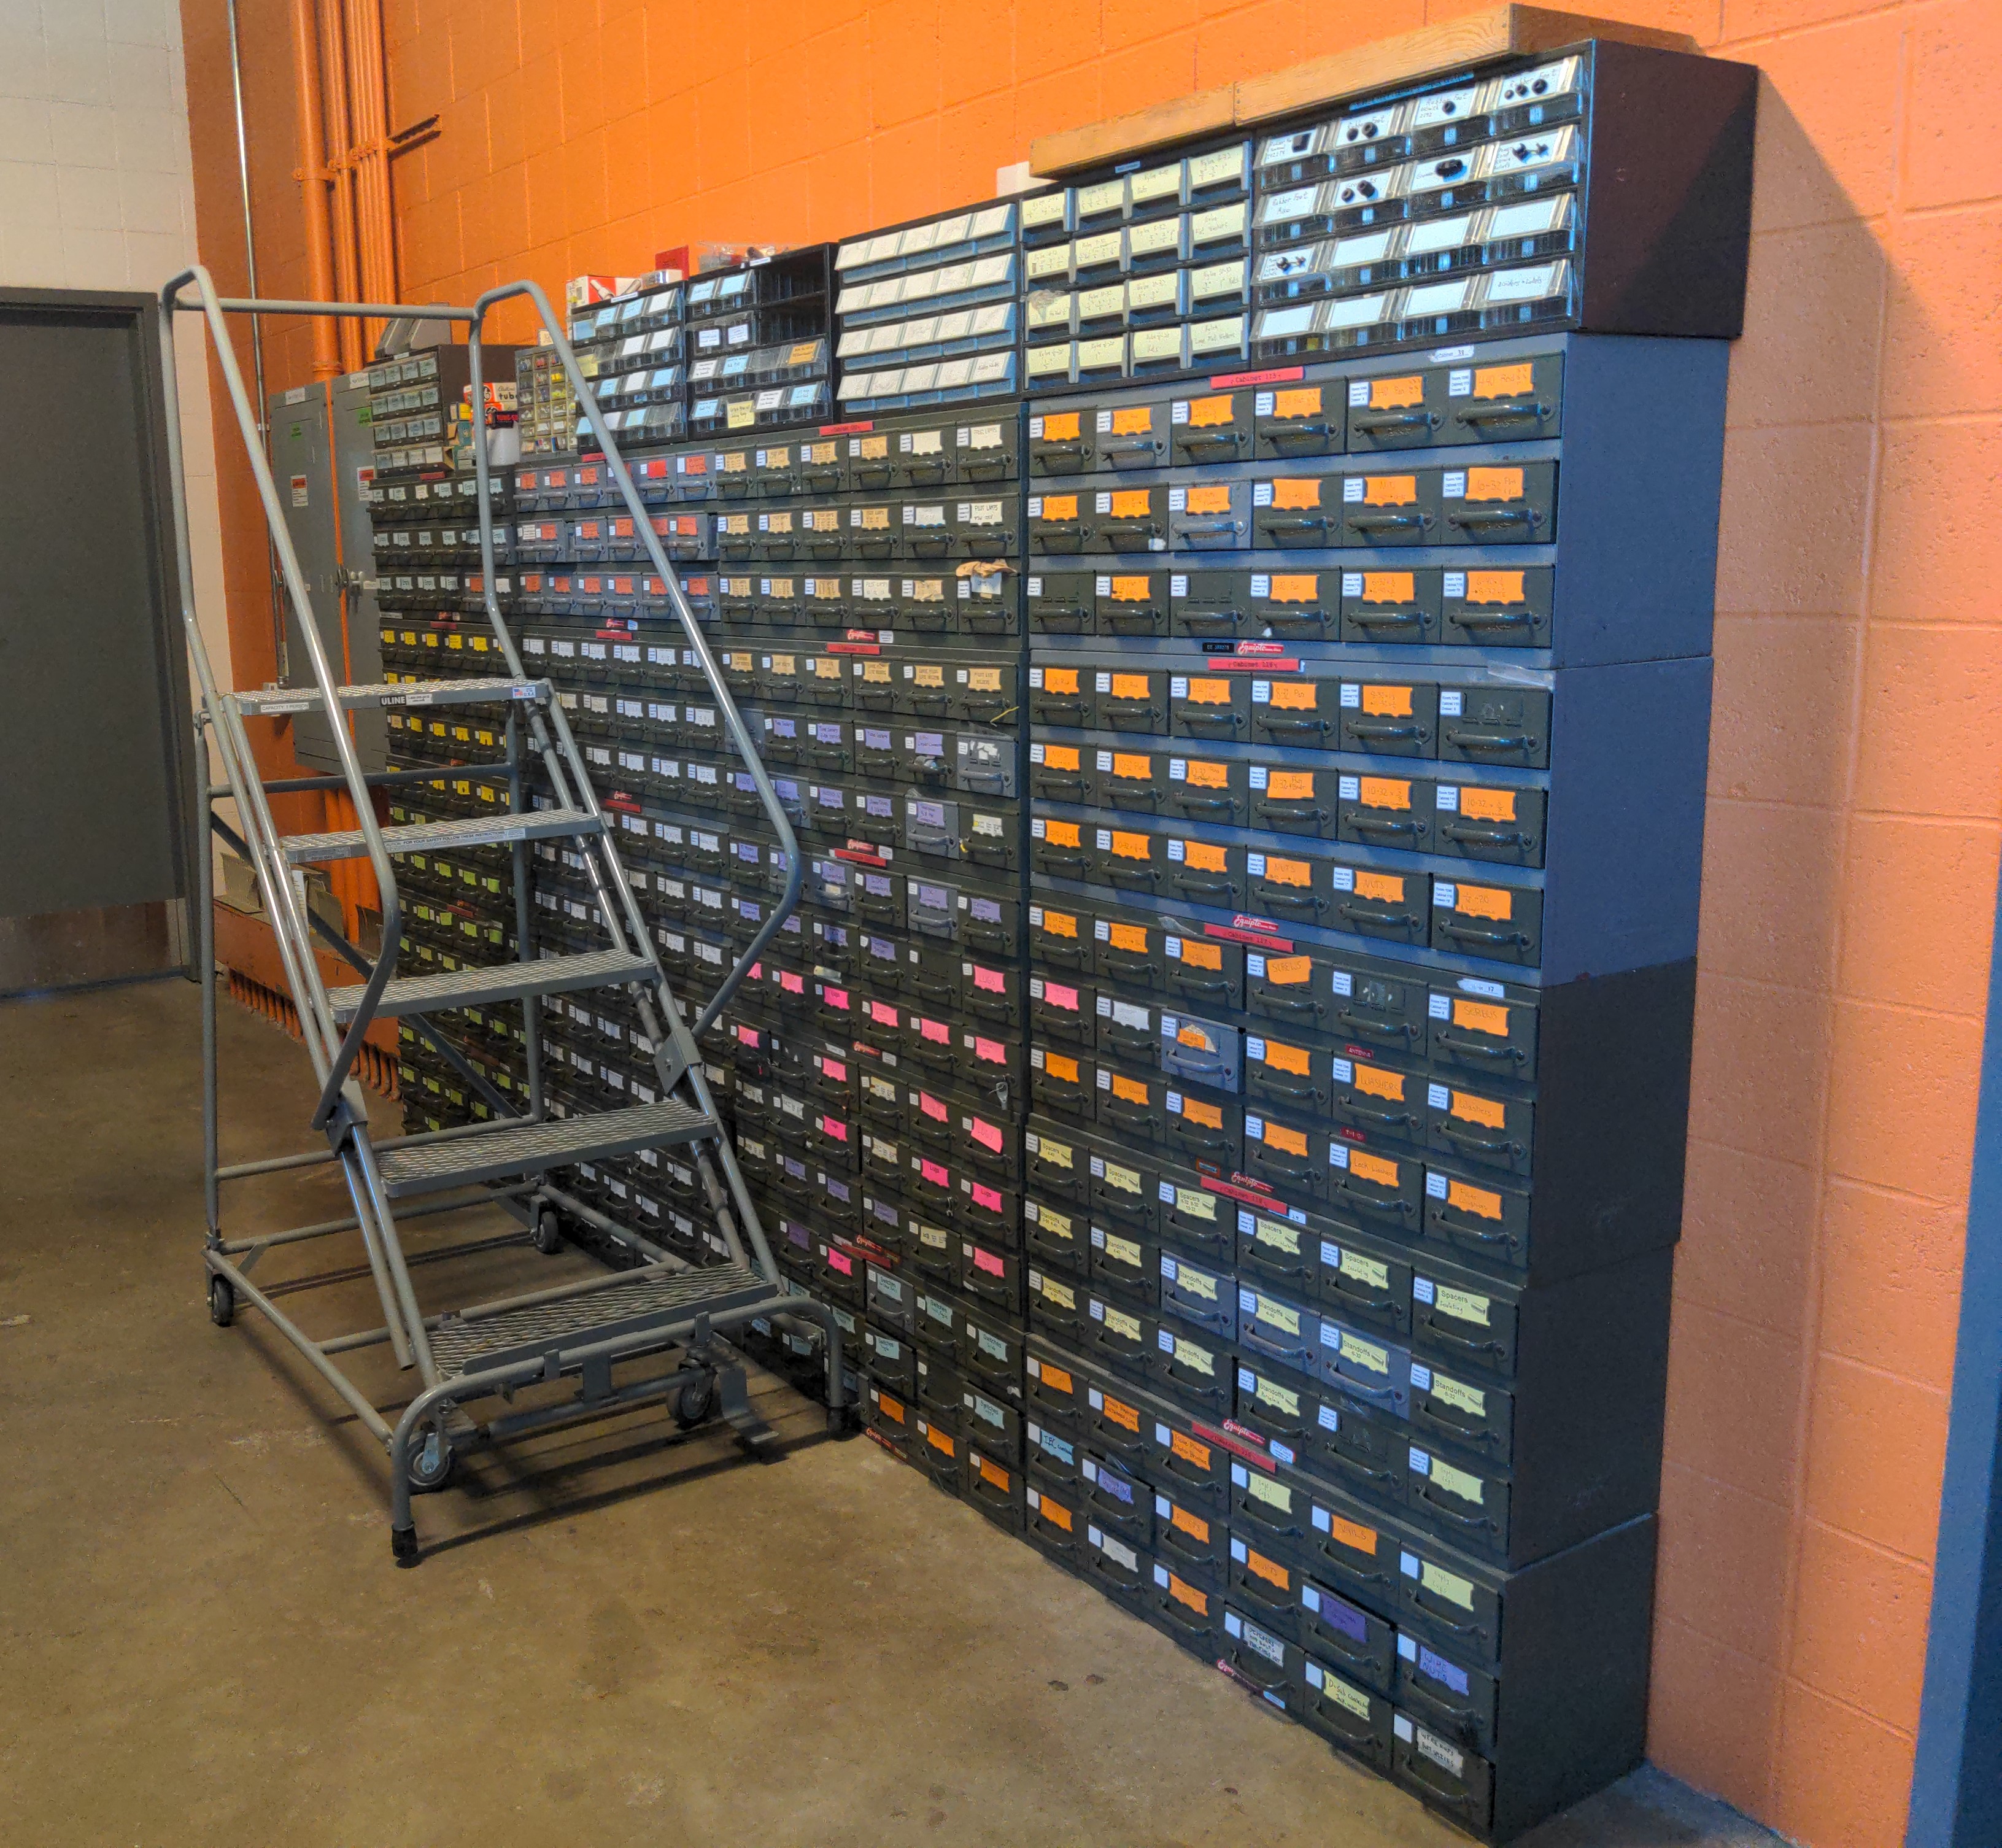
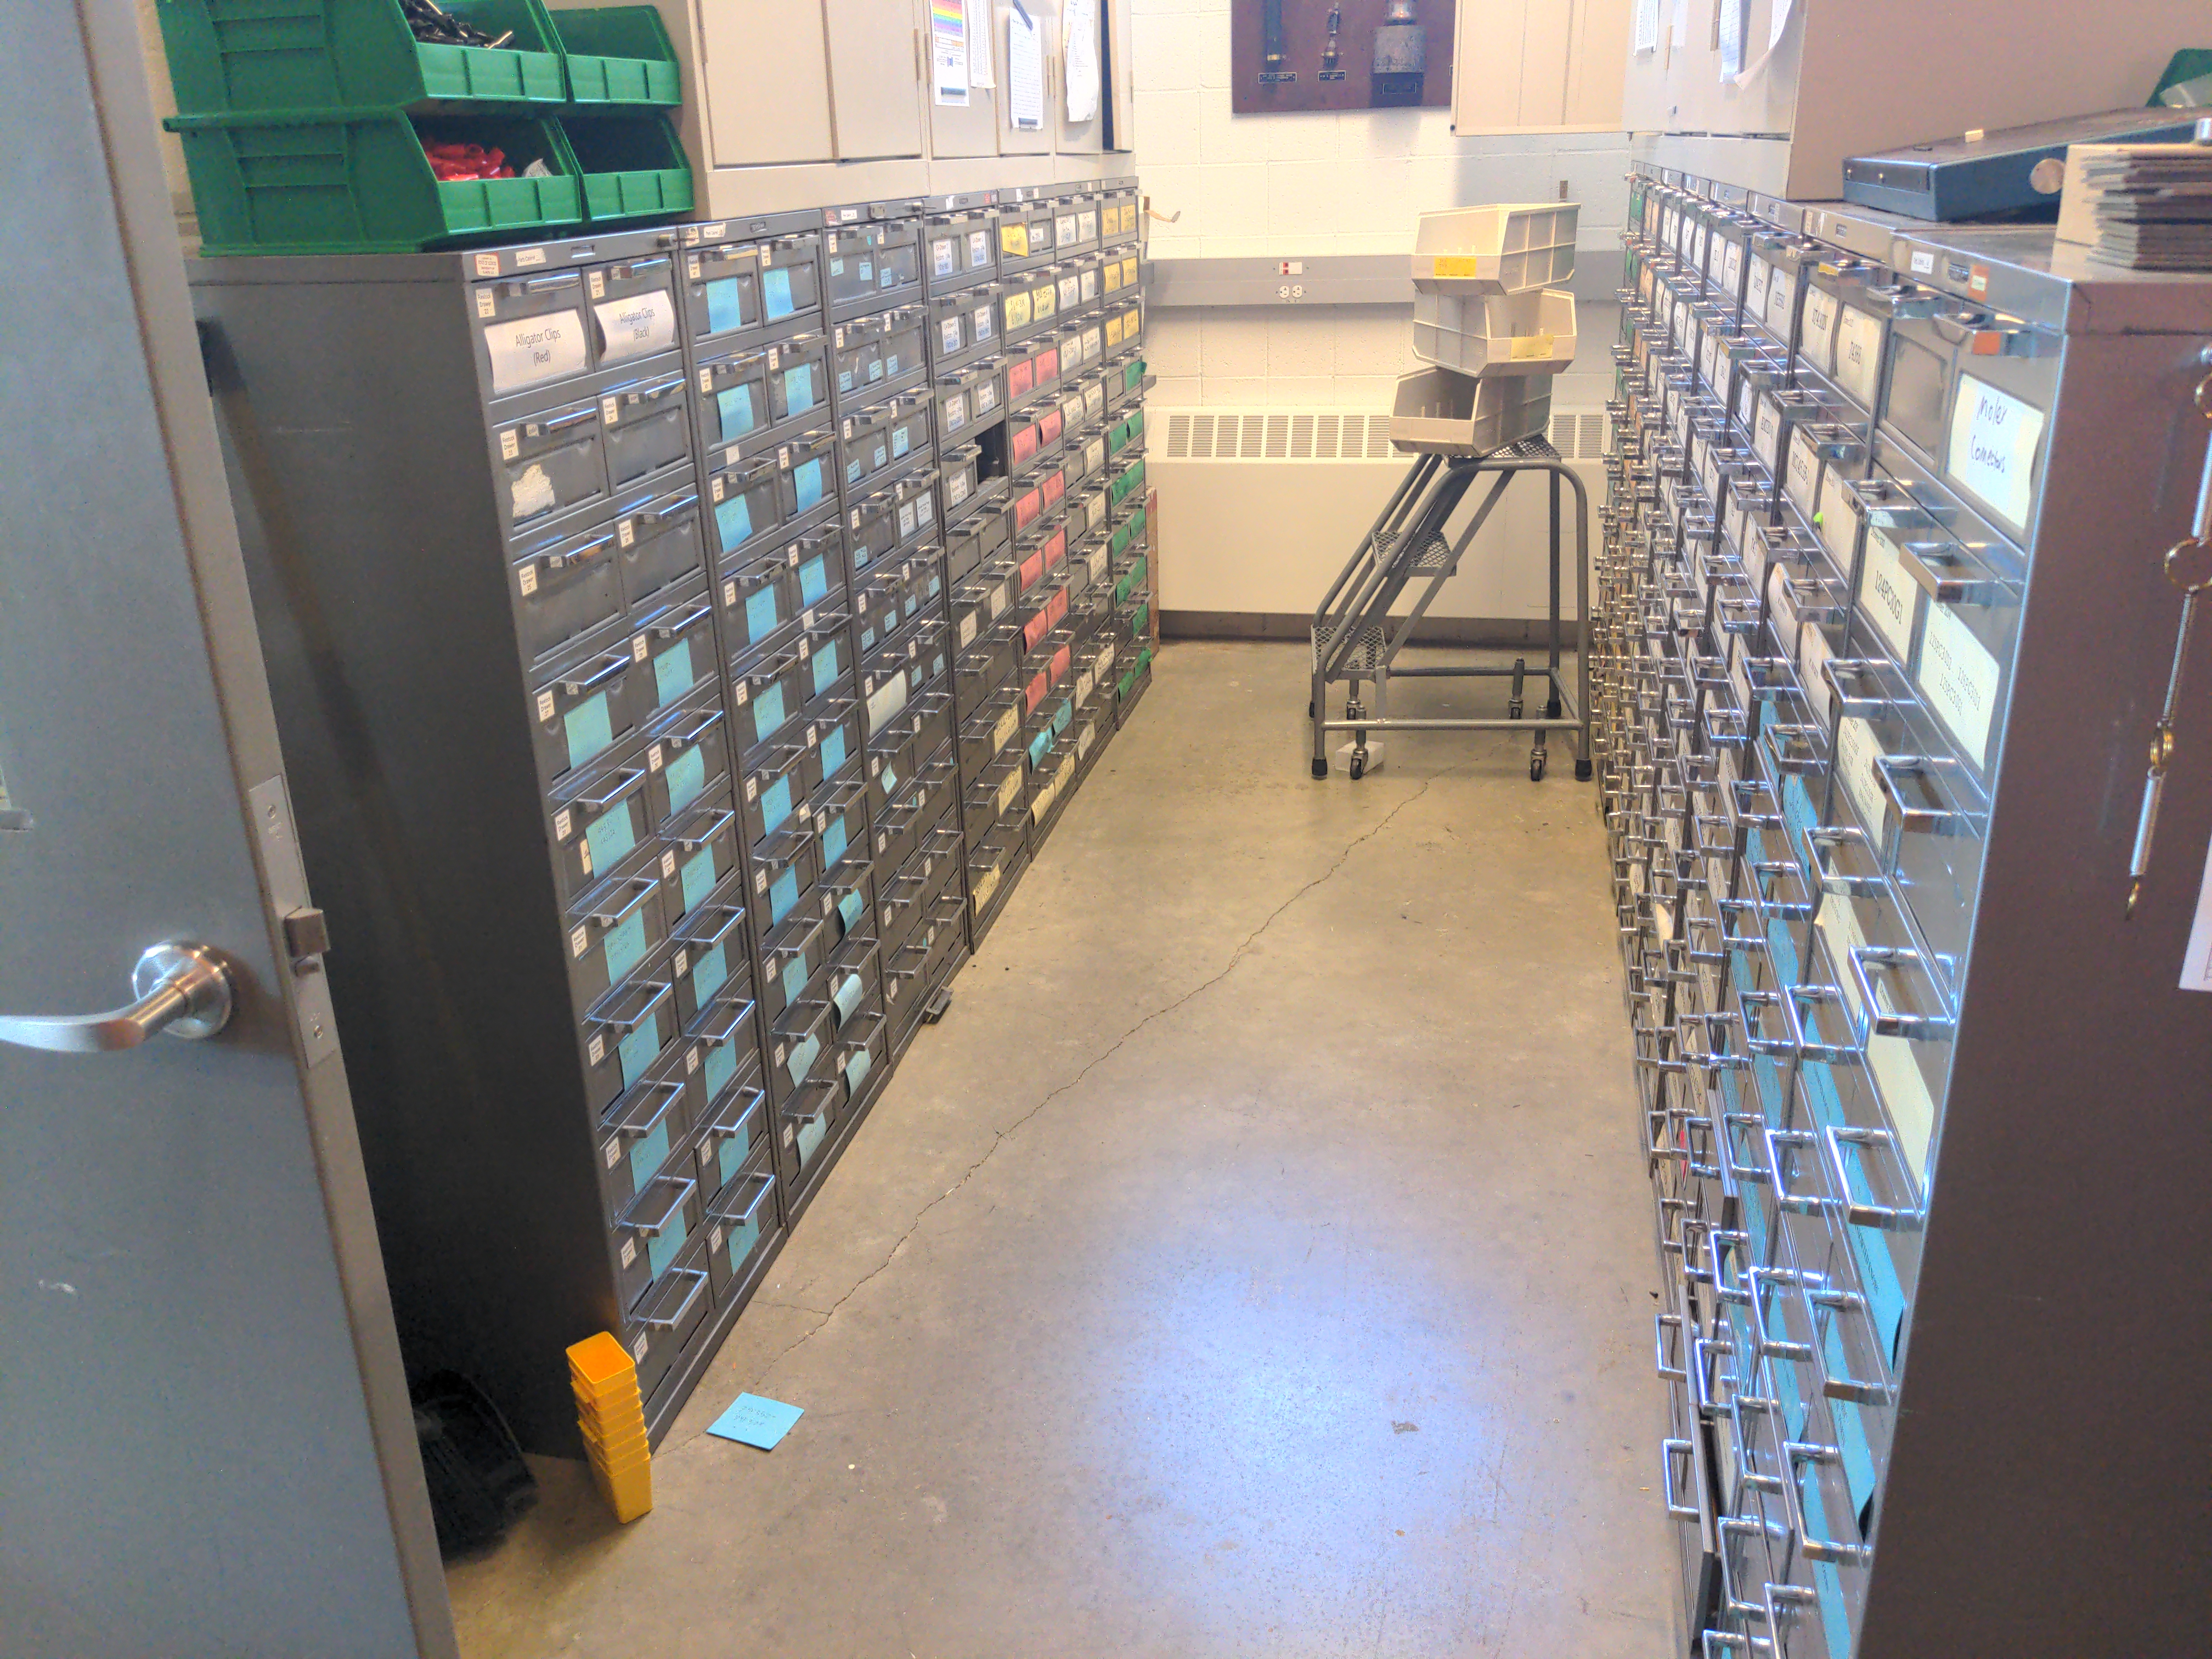
Your TA can check out parts ECE 445 stores in white cabinets at the back of the lab: link. This inventory spreadsheet has not been updated in some time. There are items on this list that may not be in the cabinets and there are items in the cabinets that may not be on this list. Use this form for checkout: link

4. Electronics Services Shop (A.K.A. ECE Services Shop)

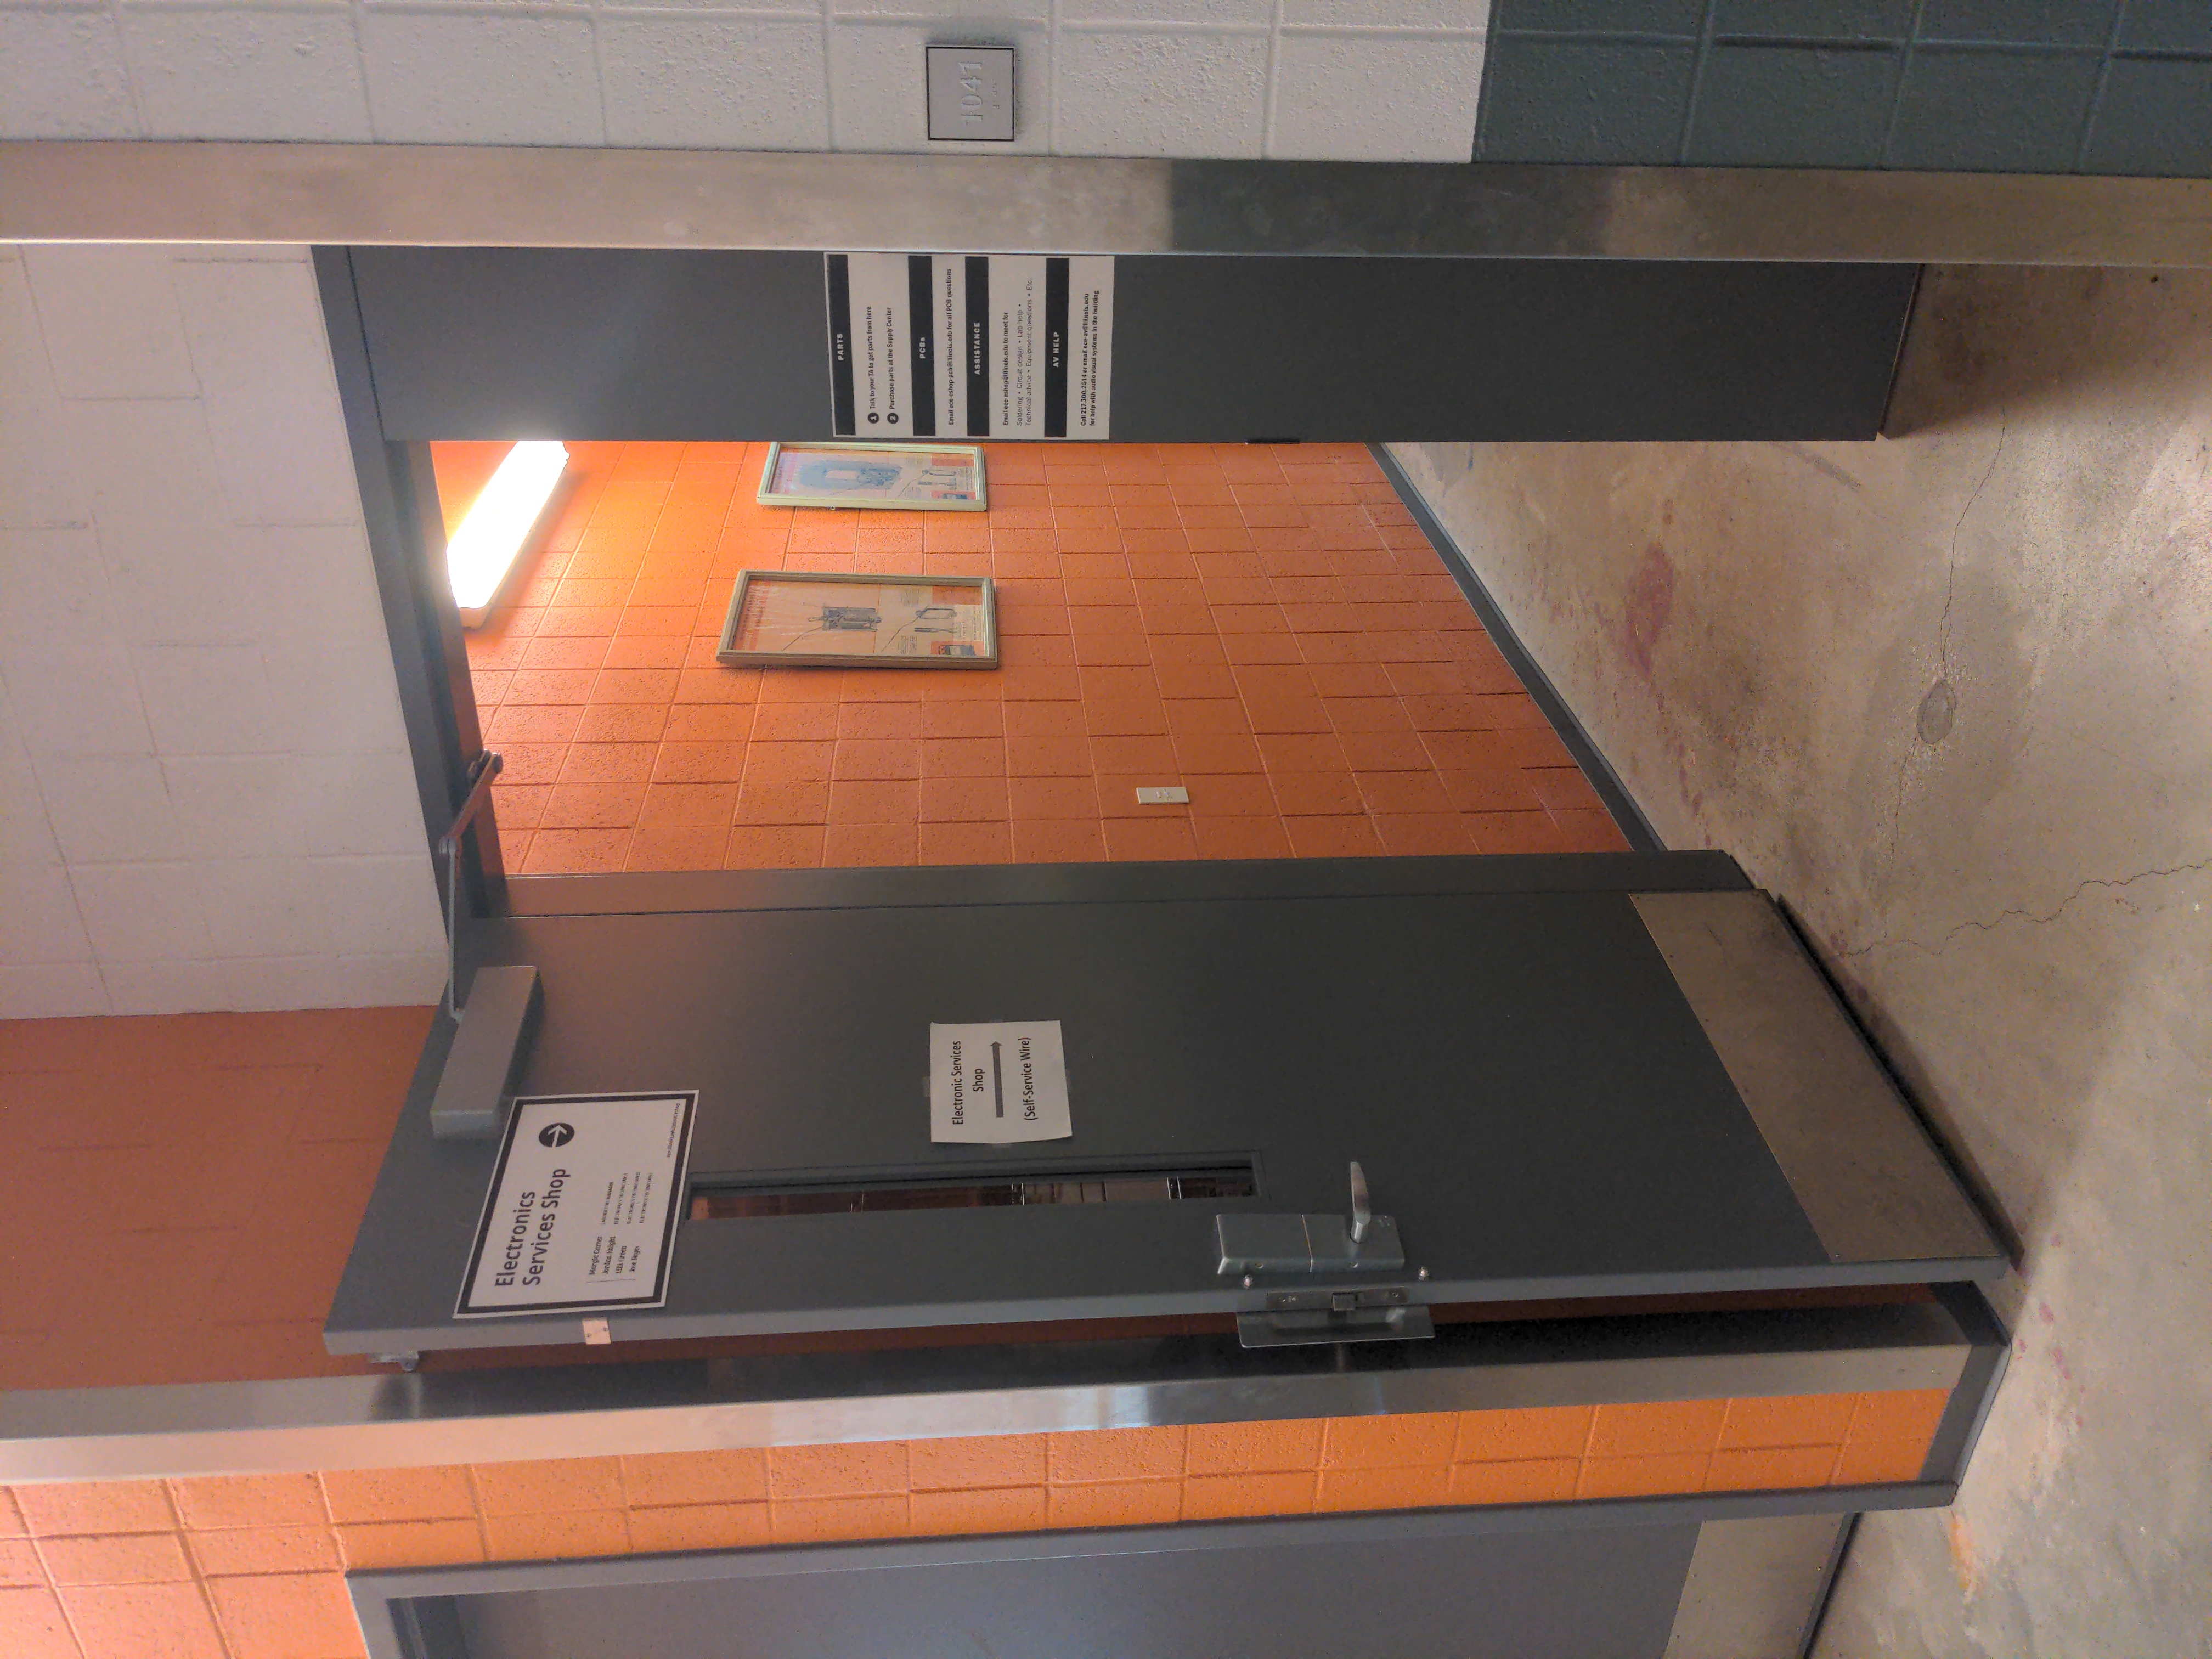
The Electronics Services Shop is located on the first floor of ECEB near the cargo elevator in ECEB 1041. They have a large stock of THT ICs (such as op-amps), potentiometers, motors, resistors, connectors, etc. Visit them when they are open to pick up parts.

Self-Service Inventory

Recently, they have started stocking 0805 surface mount passive components, crystal oscillators, microcontrollers, and linear regulators. The microcontroller portion of your board can probably be built entirely with parts from the Electronics Services Shop.  You do not need to pay for parts you obtain from the Electronics Services Shop.

E-shop website

To obtain SMD parts from the E-Shop, please use the Excel form sent out by your TA. Fill out the form and email it to your TA, who will place the order with the E-Shop and pickup it up. Your TA will receive an email when the parts are ready and will bring them to your group in the lab. Your TA must pickup the parts from the E-Shop; the E-Shop will not release parts to you directly.

SMD Parts Request Form link


5. ECE Supply Center (A.K.A. ECE Store)

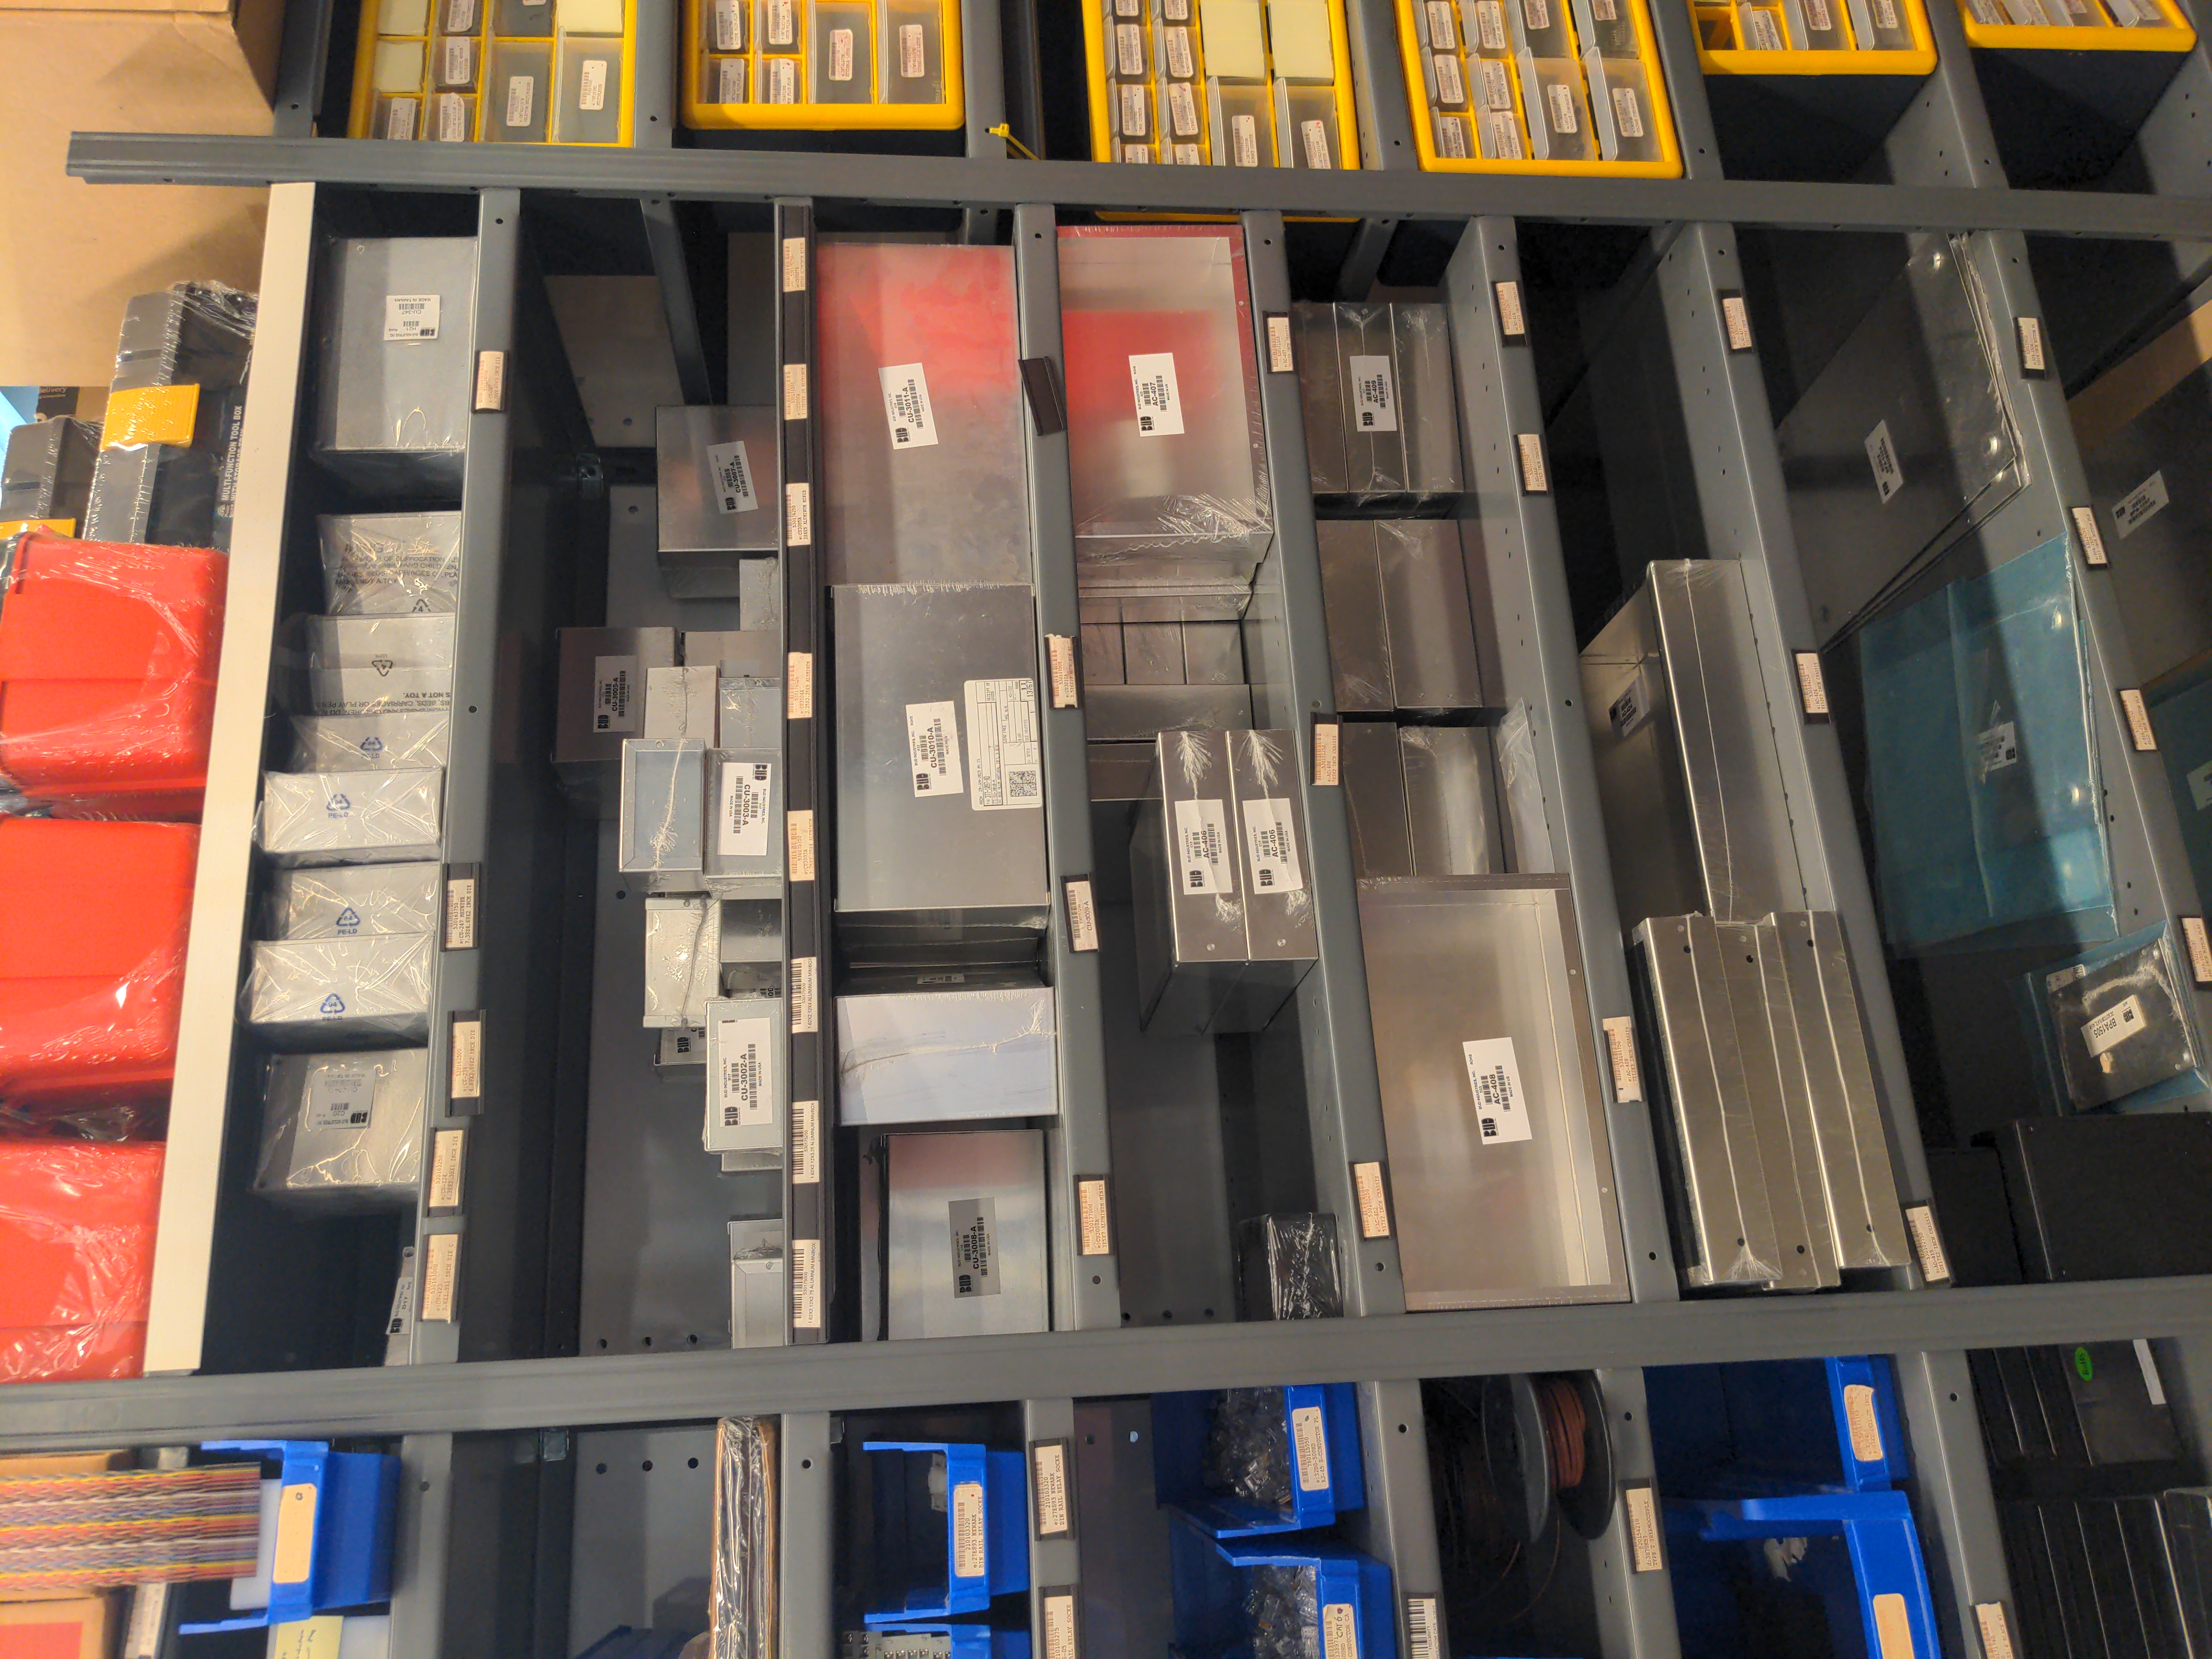
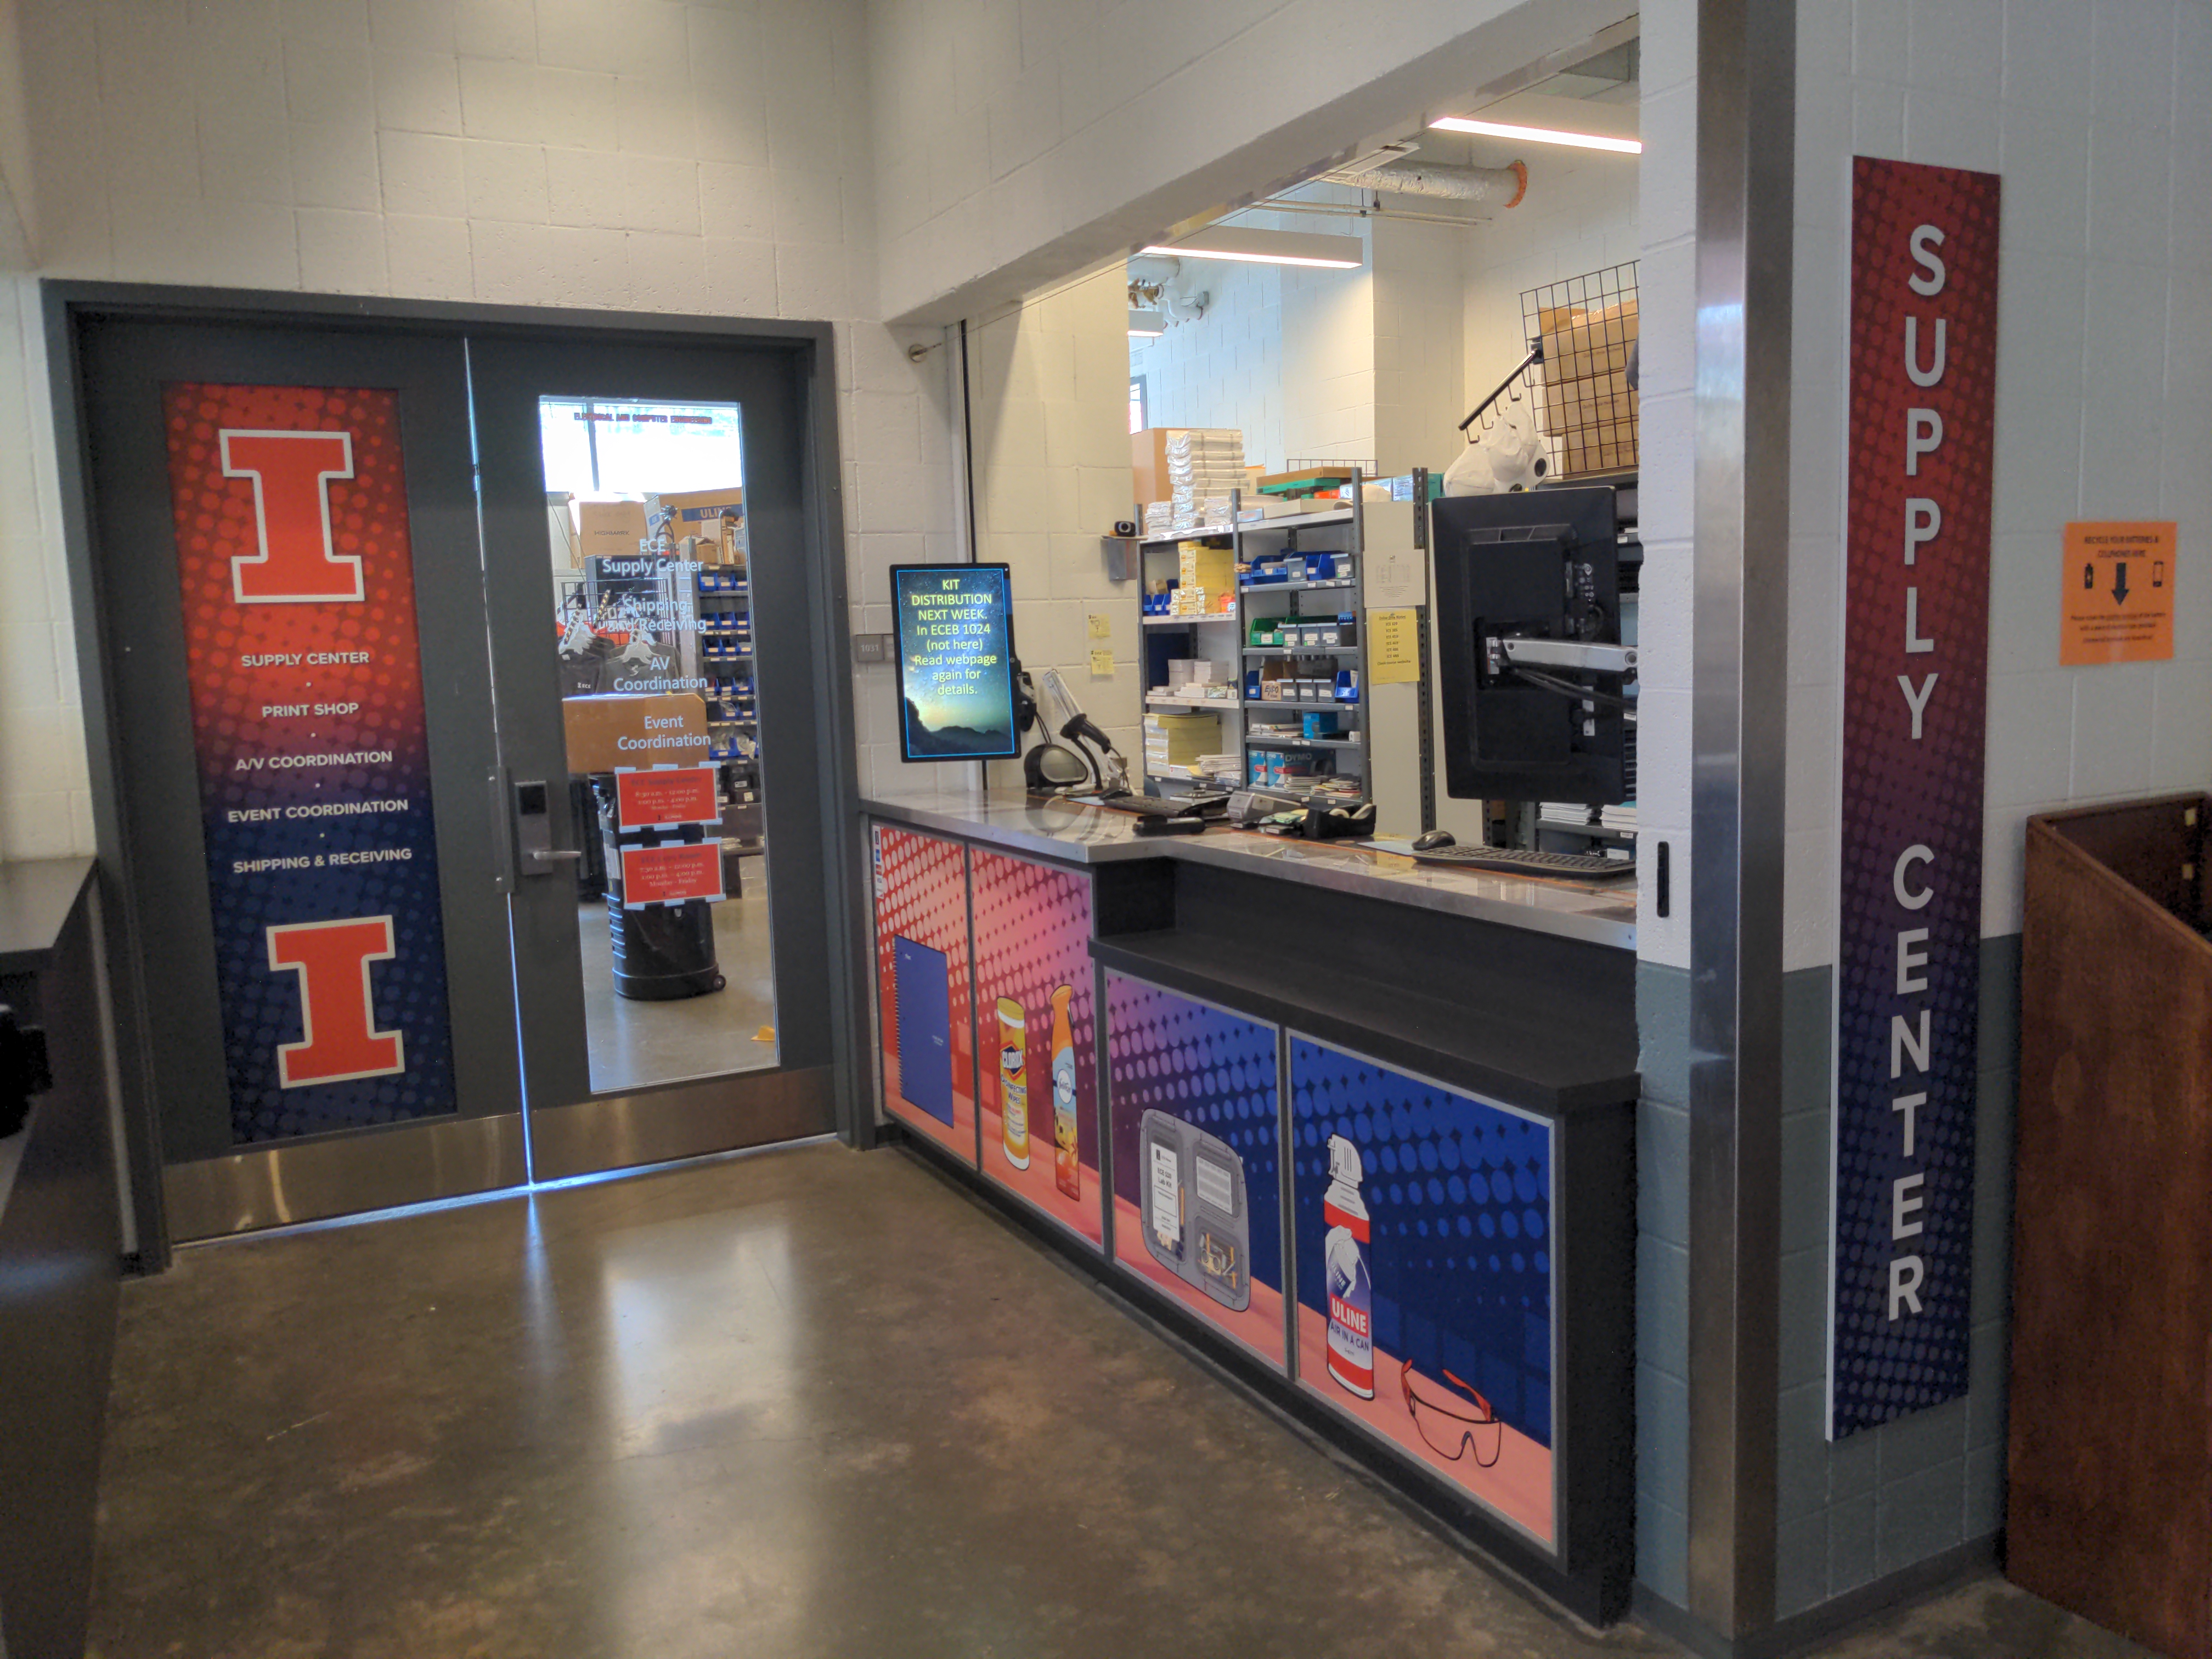
The ECE Supply Center is located on the first floor of ECEB in room 1031 near the loading dock. You must pay for parts out of pocket or with your TA's CFOP number. They stock breadboards, project boxes, jumper wires, THT LSI logic ICs, THT analog ICs, and more. This is a fantastic resource for building prototypes. You can search their catalog here: https://my.ece.illinois.edu/storeroom/catalog.asp.
6. Free Samples from Companies

It should be mentioned that companies many times are willing to provide small quantities of their products to students engaged in design projects. You might consider approaching the manufacturer directly, particularly regarding their newer products which they are interested in promoting. Don't count on success with this, but it has often been very useful.

7. MY.ECE Ordering (last resort)

You can order parts from amazon, digikey, mouser, etc. using the money provided to you by the course with your TA's CFOP number. Orders placed through this avenue must be approved by your TA through myECE. If you order multiple parts through digikey or mouser, please provide a shopping cart link. This method of ordering is best for parts that cannot be found in any of the sources listed above. This includes SMD MOSFETs, high performance ADCs/DACs, power converter ICs, SMD op amps, modem ICs, etc. Please refer to this tutorial for more instructions: http://courses.engr.illinois.edu/ece445/lab/resources/ece_purchasing_app_tutorial.pdf

Personal Purchases

It is always possible and encouraged to purchase your own parts from a local store (Radio Shack, Best Buy, etc.) or order them from online vendors. Personal purchases will not be reimbursed by the department.

Instant Nitro Cold Brew Machine

Danis Heto, Mihir Vardhan

Instant Nitro Cold Brew Machine

Featured Project

# Instant Nitro Cold Brew Machine

Team Members:

- Mihir Vardhan (mihirv2)

- Danis Heto (dheto3)

# Problem

Cold brew is made by steeping coffee grounds in cold water for 12-18 hours. This low-temperature steeping extracts fewer bitter compounds than traditional hot brewing, leading to a more balanced and sweeter flavor. While cold brew can be prepared in big batches ahead of time and stored for consumption throughout the week, this would make it impossible for someone to choose the specific coffee beans they desire for that very morning. The proposed machine will be able to brew coffee in cold water in minutes by leveraging air pressure. The machine will also bring the fine-tuning and control of brewing parameters currently seen in hot brewing to cold brewing.

# Solution

The brew will take place in an airtight aluminum chamber with a removable lid. The user can drop a tea-bag like pouch of coffee grounds into the chamber along with cold water. By pulling a vacuum in this chamber, the boiling point of water will reach room temperature and allow the coffee extraction to happen at the same rate as hot brewing, but at room temperature. Next, instead of bringing the chamber pressure back to atmospheric with ambient air, nitrogen can be introduced from an attached tank, allowing the gas to dissolve in the coffee rapidly. The introduction of nitrogen will prevent the coffee from oxidizing, and allow it to remain fresh indefinitely. When the user is ready to dispense, the nitrogen pressure will be raised to 30 PSI and the instant nitro cold brew can now be poured from a spout at the bottom of the chamber.

The coffee bag prevents the coffee grounds from making it into the drink and allows the user to remove and replace it with a bag full of different grounds for the next round of brewing, just like a Keurig for hot coffee.

To keep this project feasible and achievable in one semester, the nitrogenation process is a reach goal that we will only implement if time allows. Since the vacuum and nitrogenation phases are independent, they can both take place through the same port in the brewing chamber. The only hardware change would be an extra solenoid control MOSFET on the PCB.

We have spoken to Gregg in the machine shop and he believes this vacuum chamber design is feasible.

# Solution Components

## Brewing Chamber

A roughly 160mm tall and 170mm wide aluminum chamber with 7mm thick walls. This chamber will contain the brew water and coffee grounds and will reach the user-set vacuum level and nitrogenation pressure if time allows. There will be a manually operated ball valve spout at the bottom of this chamber to dispense the cold brew once it is ready. The fittings for the vacuum hose and pressure sensor will be attached to the screw top lid of this chamber, allowing the chamber to be removed to add the water and coffee grounds. This also allows the chamber to be cleaned thoroughly.

## Temperature and Pressure Sensors

A pressure sensor will be threaded into the lid of the brewing chamber. Monitoring the readings from this pressure sensor will allow us to turn off the vacuum pump once the chamber reaches the user-set vacuum level. A temperature thermocouple will be attached to the side of the brewing chamber. The temperature measured will be displayed on the LCD display. This thermocouple will be attached using removable JST connectors so that the chamber can be removed entirely from the machine for cleaning.

## Vacuum Pump and Solenoid Valve

An oilless vacuum pump will be used to pull the vacuum in the brewing chamber. A solenoid valve will close off the connection to this vacuum pump once the user-set vacuum pressure is reached and the pump is turned off. To stay within the $100 budget for this project, we have been given a 2-Stage 50L/m Oil Free Lab Vacuum Pump on loan for this semester. The pump will connect to the chamber through standard PTFE tubing and push-fit connectors

If time allows and we are able to borrow a nitrogen tank, an additional solenoid and a PTFE Y-connector would allow the nitrogen tank to connect to the vacuum chamber through the same port as the vacuum pump.

## LCD Display and Rotary Encoder

The LCD display allows the user to interact with the temperature and pressure components of the brewing chamber. This display will be controlled using a rotary encoder with a push button. The menu style interface will allow you to control the vacuum level and brew time in the chamber, along with the nitrogenation pressure if time allows. The display will also monitor the temperature of the chamber and display it along with the time remaining and the current vacuum level.

# Criterion For Success

- A successful cold brew machine would be able to make cold brew coffee at or below room temperature in ten minutes at most.

- The machine must also allow the user to manually control the brew time and vacuum level as well as display the brew temperature.

- The machine must detect and report faults. If it is unable to reach the desired vacuum pressure or is inexplicably losing pressure, the machine must enter a safe ‘stop state’ and display a human readable error code.

- The reach goal for this project, not a criterion for success, would be the successful nitrogenation of the cold brew.

Project Videos

Business Office

If none of these methods work, you can go through the business office with the help of your TA.