MP 2: PNG Chunks
Overview
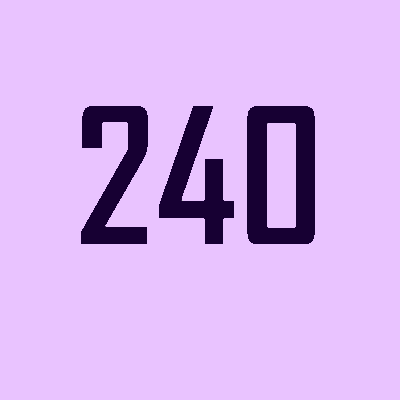
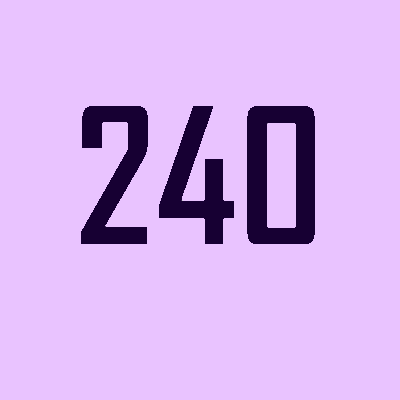
Your second MP in CS 240 is using C to manipulate low-level data. Specifically, we have hidden a few of our favorite GIFs inside of the “classic” CS 240 PNG image:

File:
240.png

File:
sample/natalia.png

File:
sample/waf.png
Initial Files
In your CS 240 directory, merge the initial starting files with the following commands:
git fetch release
git merge release/mp2 -m "Merging initial files"
Machine Problem
Part 1: Provided Code
In this MP, we have provided one library and two programs that are already complete:
- A small PNG library that allows you to easily work with PNG chunks,
lib/png.candlib/png.h. - A complete program that analyzes a PNG file,
png-analyze.c. - A complete program that reads and rewrites the PNG file using the provided PNG library,
png-rewrite.c.
Before getting started programming, explore analyzing a few PNG files:
- Run
maketo compile, - Run
./png-analyze 240.pngto view the chunks in240.png - Run
./png-analyze sample/natalia.pngto view the chunks insample/natalia.png - Run
./png-analyze sample/waf.pngto view the chunks insample/waf.png - Notice that
sample/natalia.pngandsample/waf.pngboth have auiucchunk – this is our hidden GIF file! You will need to extract it from the PNG file. - Make sure to take a look at
png-analyze.candlib/png.cto understand how to use the PNG library.
Part 2: Extract the Hidden uiuc Chunk
Complete png-extractGIF.c to extract the uiuc chunk from the PNG file specified in the command line (argv[1]) and save the data from the uiuc chunk into the GIF file specified in the command line (argv[2]). You will almost certainly find the provided png-analyze.c as a great starting point for your code.
You will need to open a new file for writing in C. The following C library calls may be helpful:
fopen(reference), to open a new file. Use"w"as the second parameter to open the file for writing.fwrite(reference), to write to an open file.fclose(reference), to close an open file.
The hidden GIFs in the files within the sample folder are valid GIF and should be able to be opened by any program that can open images if extracted correctly.
Testing Your Code
Once you have finished png-extractGIF.c, make sure to test it before moving on to Part 3! To do so:
- Run
maketo compile, - Run
./png-extractGIF sample/natalia.png natalia.gifto extract the hidden GIF from Natalia’s file, - Run
./png-extractGIF sample/waf.png waf.gifto extract the hidden GIF from Wade’s file, - View
natalia.gifandwaf.gifto see the hidden GIFs you extracted. (If they don’t appear as valid GIFs, something went wrong in your extraction.)
Part 3: Hide Your Own GIF
Complete png-hideGIF.c to hide a GIF file within a uiuc chunk in a provided PNG file. The first command line argument (argv[1]) is the normal PNG file, the second argument (argv[2]) is the GIF to be hidden, and the third argument (argv[3]) is the name of the new PNG file with the hidden GIF.
You will need to open a new file to read the contents of the GIF file. The following C library calls may be helpful:
fopen(reference), to open a new file. Use"r"as the second parameter to open the file for reading.fread(reference), to read from an open file.ftell(reference), to record the current position of the file pointer within a file.fseek(reference), to move backwards/forwards within a file.fclose(reference), to close an open file.
Your png-hideGIF.c file will be very similar to the provided png-rewrite.c program except that you need to add an additional PNGChunk somewhere between IHDR and IEND (it cannot be before the IHDR chunk or after the IEND chunk, but it otherwise can be anywhere in between the two chunks). When you are creating your new PNGChunk, it is NOT necessary to fill in the crc. This is calculated for you in the provided PNGChunk_writeChunk function.
Testing Your Code
Finally, once complete, make sure to test your program:
- Use
png-analyzeto make sure the hiddenuiucchunk if present, - Use your
png-extractGIFprogram to ensure you can extract the GIF you hide in the file, - Finally, post your PNG file to the class slack and share your hidden image with the all of us! :)
Submit
When you have completed your program, double-check all three parts run without errors and gets the result your expect. When you are ready, submit the code via the following git commands:
git add -A
git commit -m "MP submission"
git push origin master
You can verify your code was successfully submitted by viewing your git repo via the web interface here: https://github-dev.cs.illinois.edu/cs240-fa20