This page contains step by step demos to show how to do Rendering synthetic objects into photographs on project 4, using blender 2.8
We will use our equirectangular HDR image as an image-based light, and insert 3D objects into the scene. This consists of 3 main parts: modeling the scene, rendering, and compositing. Specific instructions follow below; if interested, see additional details in Debevec's paper.
Begin by downloading/installing the latest version of Blender here(2.8). Unlike project webpage, this tutorial assumes that you create your own blend file from scratch.
Modeling the scene
To insert objects, we must have some idea of the geometry and surface properties of the scene, as well as the lighting information that we captured in previous stages. In this step, you will manually create rough scene geometry/materials using Blender.
First clear out initial scene including sample mesh and lighting, and setup camera position
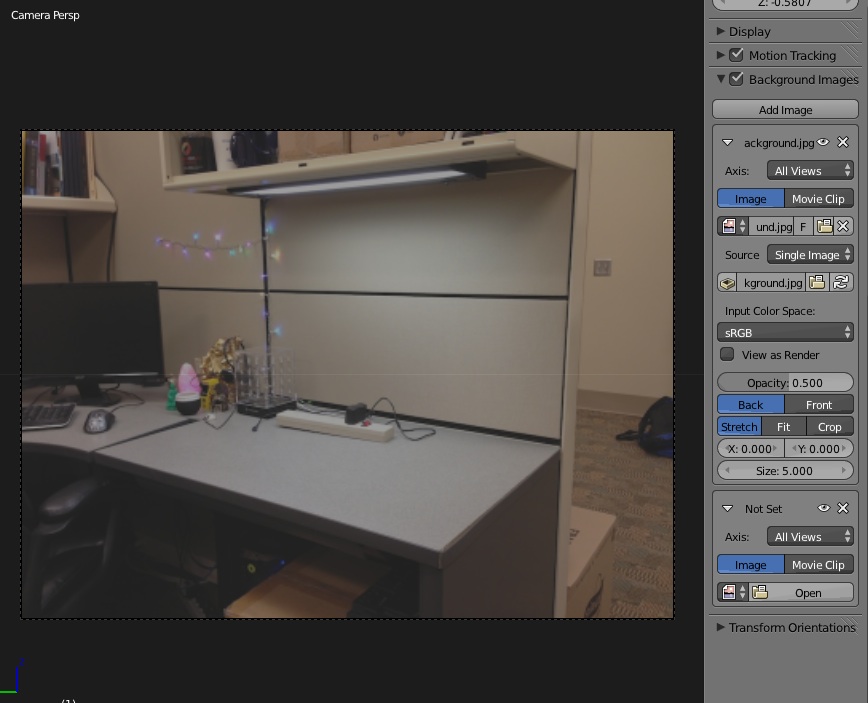
Next, go into perspective camera mode, and setup viewport dimension. You want the same dimension as your background image for this.
We then want to load background image onto this viewport. Click on 'g' to move background image around, and 's' to resize it.
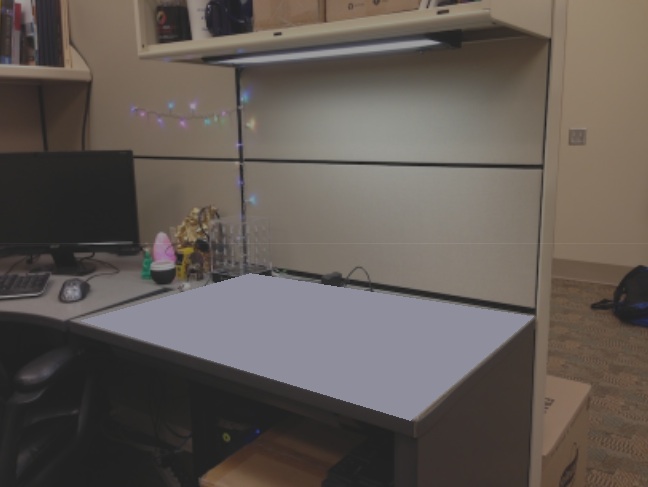
Then, we want to add local scene. That is, add simple geometry (usually planes suffice) to recreate the geometry in the scene near where you'd like to insert objects. For best results, this should be close to where you placed the spherical mirror. Feel free to use the sample scene provided and move the vertices of the plane to match the surface you'd like to recreate (ignore the inserted bunny/teapot/etc for now). Once you're happy with the placement, add materials to the local scene: select a piece of local scene geometry, go to Properties->Materials, add a Diffuse BSDF material, and change the "Color" to roughly match the color from the photograph.
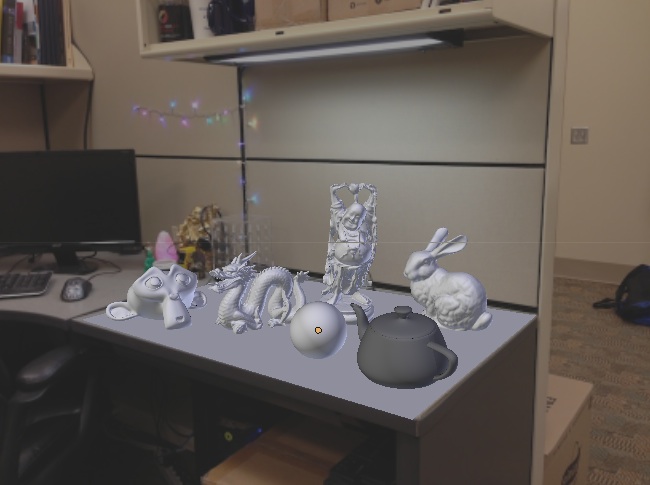
Finally, insert synthetic objects into the scene. Feel free to use the standard models that I've included in the sample blend file, or find your own (e.g. Turbosquid, Google 3D Warehouse, DModelz, etc). Add interesting materials to your inserted objects as well. Once finished, your scene should now look something like the right image below.
Then, add your HDR image (the equirectangular map made above) to the scene. First, use notebook to save the HDR panorama: write_hdr_image(eq_image, 'equirectangular.hdr').
In the World tab on property panel, make sure Surface="Background" and Color="Environment Texture". Locate your saved HDR image in the filename field below "Environment Texture".
Once finished, your scene should now look something like the right image below.
Blender scene after: loading background image, modeling local scene, inserting objects
Rendering
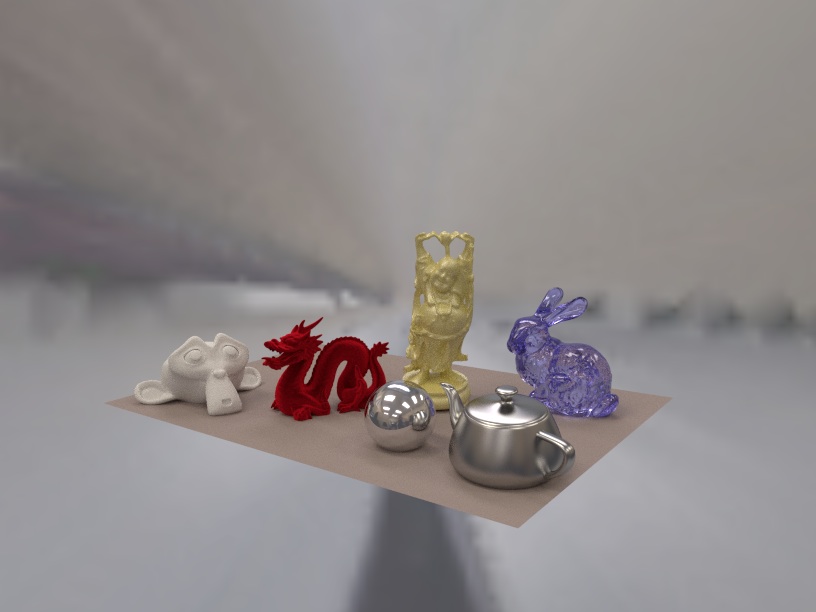
We can now render the scene to see a preview of what the inserted objects will look like. Make sure "Cycles Render" is selected at the top of Blender's interface, and then render the scene (F12). Your rendering might be too bright/dark, which is caused because we don't know the absolute scale of the lighting, so this must be set manually. To fix, adjust the light intensity (Properties->World tab, adjust "Strength" setting under "Color" accordingly). Once you're happy with the brightness, save the rendered result to disk.
This is a demo of how the Cycles render will work:
My rendered scene is down below; as you can tell, this is not quite the final result. To seamlessly insert the objects, we need to follow the compositing procedure outlined by Debevec (Section 6 of the paper). This requires rendering the scene twice (both with and without the inserted objects), and creating an inserted object mask.
Next, we'll render the "empty" scene (without inserted objects). Create a copy of your blender scene and name it something like ibl-empty.blend. Open up the copy, and delete all of the inserted objects (but keep the local scene geometry). Render this scene and save the result.
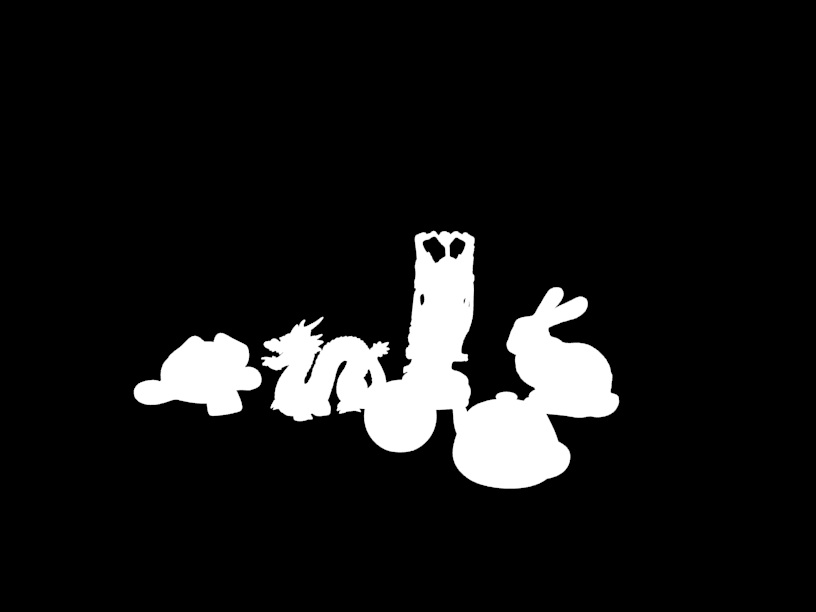
Finally, we need to create an object mask. The mask should be 0 where no inserted objects exist, and greater than 0 otherwise. First, create another duplicate of your scene and open it up (e.g. ibl-mask.blend). We can create the mask quickly using Blender by manipulating object materials and rendering properties:
In the top panel, Choose 'Eevee Render'
Select an object
Go to the materials panel
Remove the Material
Click "New" to add a new material
In the new material properties, under "Emissive"
Repeat for all inserted objects
In World panel, remove equirectangular lighting that was added previously
Render the scene and save your mask as a PNG (or some lossless format)
The PNG will contain a masked image where pixel intensities over 0.5 indicates True for object mask
After these steps, you should have the following three rendered images:
Rendered image with objects, rendering without objects, object mask
Compositing
To finish the insertion, we will use the above rendered images to perform "differential render" compositing. This can be done using a simple pixel-wise equation. Let R be the rendered image with objects, E be the rendered image without objects, M be the object mask, and I be the background image. The final composite is computed with:
composite = M*R + (1-M)*I + (1-M)*(R-E)*c
The first two terms effectively pastes the inserted objects into the background image, and the third term adds the lighting effects of the inserted objects (shadows, caustics, interreflected light, etc), modulated by c. Set c=1 initially, but try different values to get darker or lighter shadows/interreflections. The final compositing result I achieved using my image-based light is at the top of the page.
Some tips on using Blender
Save your Blender file regularly, and always before closing (on some operating systems, Blender will close without prompting to save).
To move more than one object at once, select multiple objects using shift. Pressing 'a' deselects all objects/vertices.
You can edit vertices directly in "Edit mode" (tab toggles between Object and Edit modes).
For image-based lighting, the camera should always be pointed such that the +z axis is up, and the +x axis is forward (as it is in the sample blend file in the project materials). This is the coordinate system used by Blender when applying an image-based light to the scene; otherwise your IBL will have incorrect orientation w.r.t. the scene.
You can however translate the camera rather than moving the objects in the scene (but make sure the rotation is fixed, as per the above bullet).